Buy the Book
Subscribe to Updates
Who Are the Monkeys?
Inside the Book
Resources for Readers
Reviews
Bonus Tom Articles
Facebook Fan Page
Contact Us
Publisher

Pygmy Goat Pallet House
Finish the Door
Finish the Door
Contents
Introduction
Prep Work
The Foundation
Side Walls
Front Door Frame
Finish the Door
Back Wall
Roofing
Finishing the Door and the Front Wall
 click picture to enlarge in new tab/window
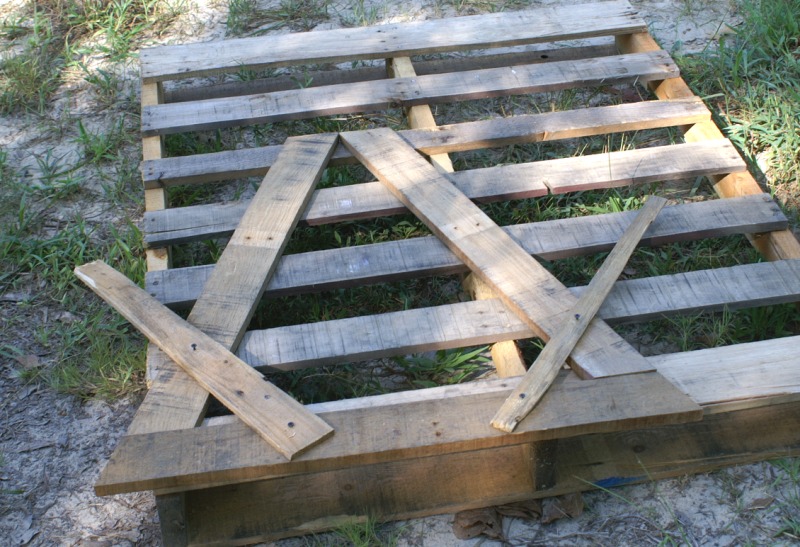
To start, remove the door from the house and place it on a pallet, as shown to the left. Make sure all three pieces of the door are firmly supported by a good quality pallet on level ground, we're going to be leaning on it pretty hard as we add the next few pieces.  click picture to enlarge in new tab/window
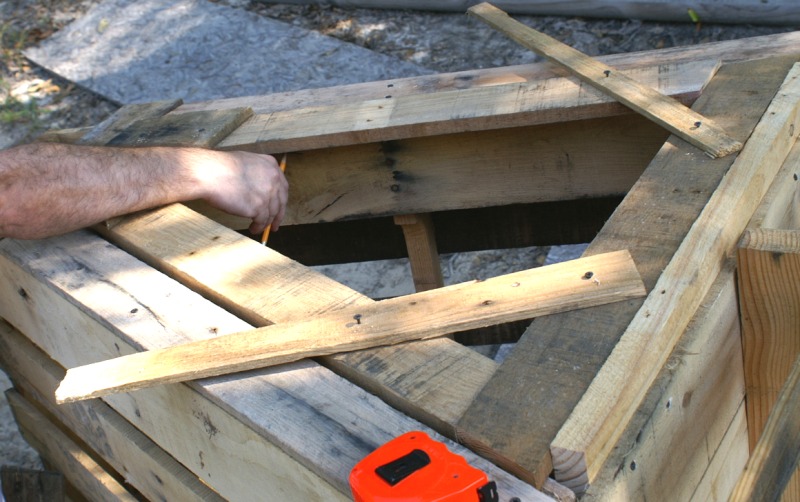
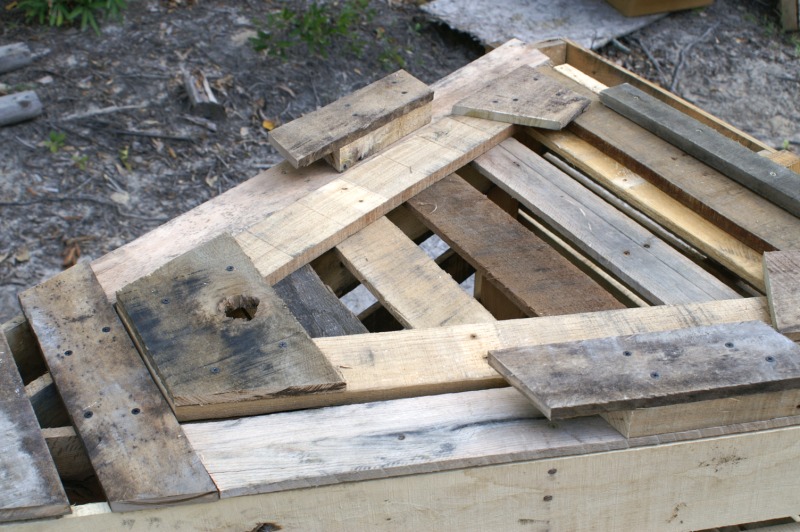
As shown to the right, we've now added a door header. This piece fits flush to the top and sides of the door sides, and is mitered accordingly. For fun, we've selected a piece with an interesting knot hole, and centered that. This piece is held with four of the longer drywall screws if thickness permits with out penetration of the far side, or the shorter screws if not. To prevent the header from splitting, we've used pilot holes here. We've also avoided conspicuous knot holes in the header piece. |
 click picture to enlarge in new tab/window
 click picture to enlarge in new tab/window
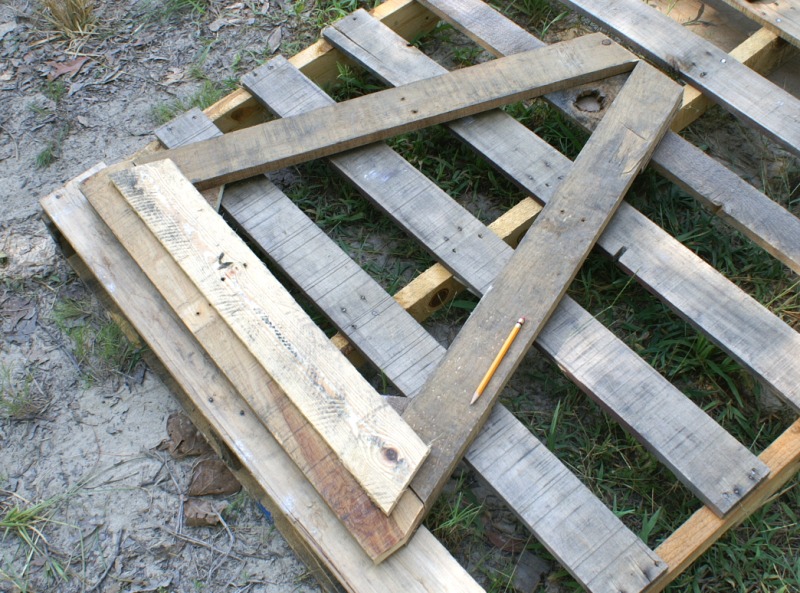
Then, remove the framing scraps and place the pieces face down on the working pallet, as shown to the right. We're about to add some cross pieces to the back of the door, but we don't want any of them to interfere with our jambs. The pencil marks are barely visible in the enlargement, so we've placed a pencil along them on one side for clarity. We'll start adding slats to the back, but first we need to secure the sides to the bottom. |

click picture to enlarge in new tab/window First, ignoring the sawmill marks on the side, the grain of this piece runs horizontally. If we attached it in the orientation shown, it would split under only a very few head butts. Overall the door will be plenty strong by the time we're done, but I can't help myself. Second, we're going to add a reverse jamb at the end of the sill to keep goat-boy from knocking it off the sill. So, we can't place any braces on the bottom inch and a half of the outside of the door. This is similar in principle to avoiding the jamb area on the back of the sides. |
 click picture to enlarge in new tab/window
Note that the grain is now oriented across the joint, resulting in a stronger connection. Also, no two screws hit the same grain lines, and we've pilot-drilled to further protect against splitting. 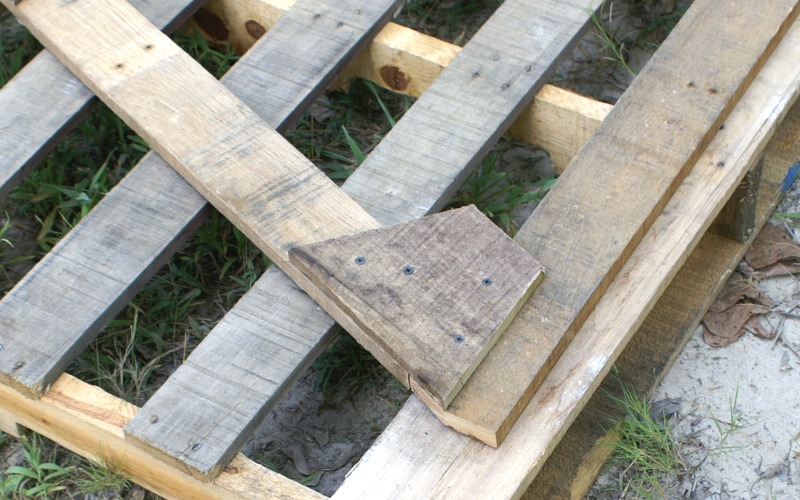
click picture to enlarge in new tab/window Also, in this view you can see that the corner braces are flush with the edge of the door. |
 click picture to enlarge in new tab/window
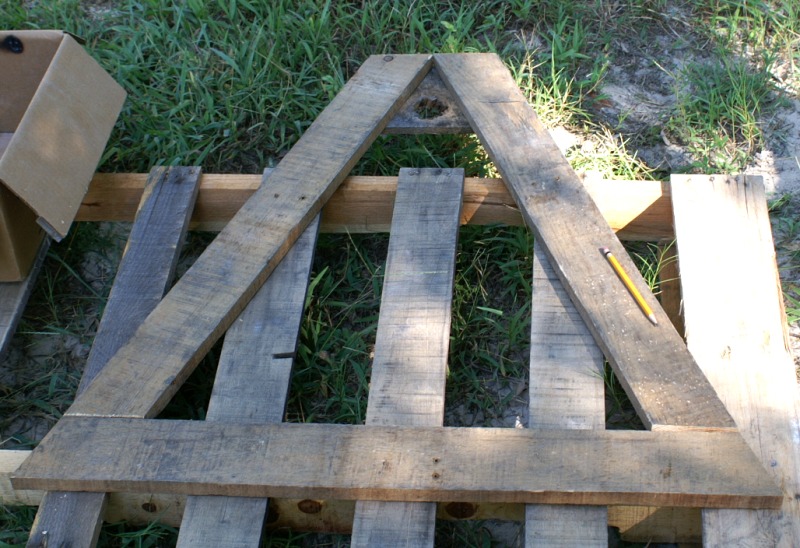
We've started this cross-slat parallel to the bottom, and high enough that we can tie into the sides with a couple of screws. Also, note that the slat is short enough to not violate the jamb lines, with a little more clearance added for expansion, etc. The pencil in the photo is a reminder of the jamb lines we scribed earlier. We've also drilled pilot holes for the screws near the end of the slats to prevent splitting.  click picture to enlarge in new tab/window
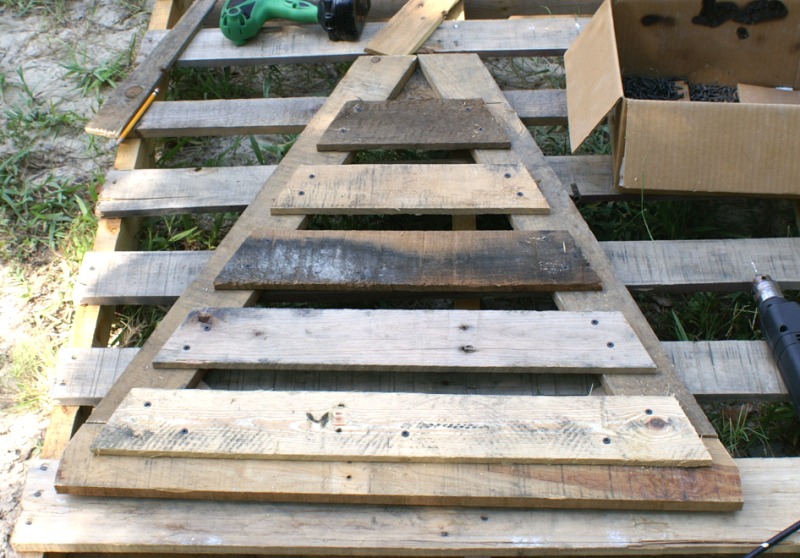
Next, we've used two pieces of scrap as straight-edges to mark the pieces to length and to position them before screwing. These guides aren't tacked down, they are just lying in place. They also help determine whether we're trending in the right direction, or are in danger of violating our jamb lines. Note that we've put five drywall screws into the bottom slat, and four into the second slat. Again, drill pilot holes for screws near the end of the cross slats. |
 click picture to enlarge in new tab/window
 click picture to enlarge in new tab/window
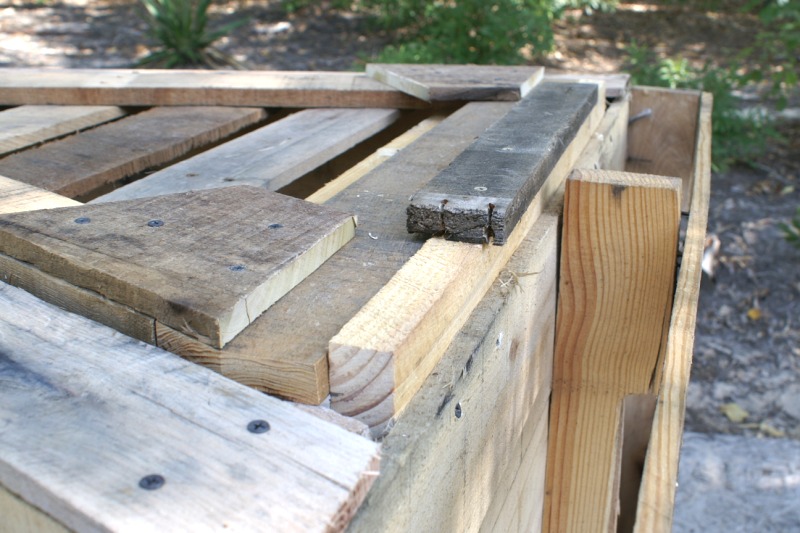
Select a relatively narrow slat for this purpose. There should be plenty of clearance for the corner braces. Note also that the bottom of the reverse jamb is flush with the bottom of the sill. If necessary, we can bring the bottom of the reverse jamb down to flush with the bottom edge of the bottom slat. The important feature is to not obstruct pallet-handling forks. |
|
Secure the reverse jamb with four small deck screws as shown above. Pilot holes are an absolute must with such a narrow and high-load piece. Try to avoid putting more than one screw on the same grain line.
The last two items to finish this wall are the medieval latch blocks and the last wall slat at the top above the door header. 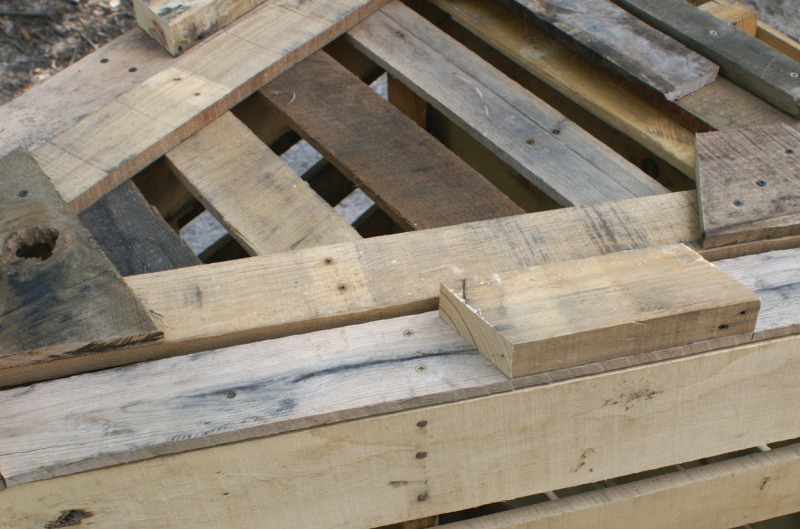 click picture to enlarge in new tab/window
Placing these blocks close to the middle rail screws gives us a lot of strength versus an angry goat. Leave enough space for your drill to operate. Also, we've used semi-dimensional rail here, but any chunky rail will work. Try to choose a rail segment that is equal to, or thinner, in width as the side slats.  click picture to enlarge in new tab/window
 click picture to enlarge in new tab/window
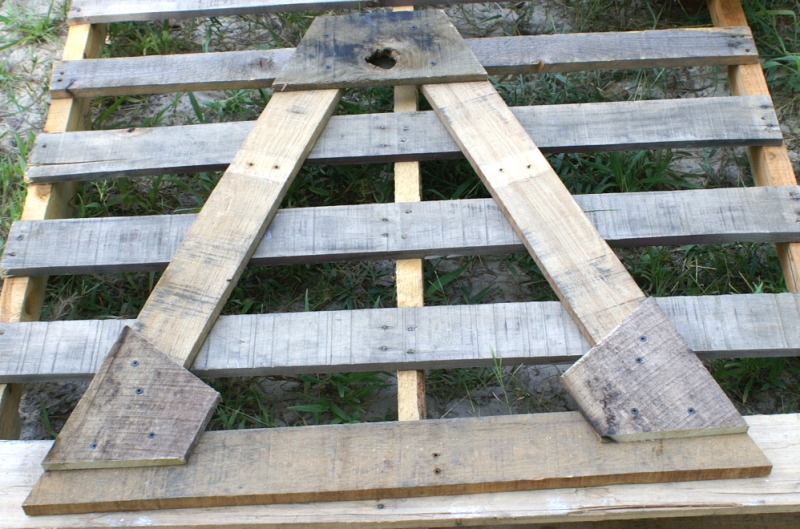
Also, strategically place a few long drywall screws on the outer edge of the side rails if needed. Don't forget to pilot drill. Now, miter cut two pieces of some good quality slat material, about twelve inches in slant length, and secure these pieces to the latch blocks as shown. Again, we've used four long drywall screws to defeat goat ramming. Position these pieces flush with the sides and bottom of the latch blocks. The last piece of the front wall is the final slat above the door header. Use the same guide blocks for the door to position this last slat, shown to the left of the door header in the last photo. Secure with long deck screws to the jamb slats, or to the top rails if possible. Be sure to pilot drill! Whew! Well, we've just finished the most complicated portion of the goat house. It's all downhill from here. Take a break, and then let's get started on the back wall. |
Shop our

Online Store
or

or
Get it on Kindle